Byconity on Kubesphere
基于 KubeSphere 搭建生产级云原生数仓 ByConity
什么是 KubeSphere
KubeSphere 是在 Kubernetes 之上构建的面向云原生应用的分布式操作系统,完全开源,支持多云与多集群管理,提供全栈的 IT 自动化运维能力,简化企业的 DevOps 工作流。它的架构可以非常方便地使第三方应用与云原生生态组件进行即插即用 (plug-and-play) 的集成。
什么是 ByConity
ByConity 是分布式的云原生SQL数仓引擎,擅长交互式查询和即席查询,具有支持多表关联复杂查询、集群扩容无感、离线批数据和实时数据流统一汇总等特点。
前言
知识点
- 定级:入门级
- 如何基于 KubeSphere 搭建多节点的 k8s 集群
- 如何配置 OpenEBS 或者 juiceFS 存储
- 如何部署 ByConity
服务器配置
| 主机名 | IP | CPU | 内存 | 系统盘 | 数据盘 | 用途 |
|---|---|---|---|---|---|---|
| master1 | 10.101.32.13 | 4 | 8 | 50 | 100 | KubeSphere/k8s-master |
| node1 | 10.101.32.14 | 4 | 8 | 50 | 100 | k8s-worker |
| node2 | 10.101.32.15 | 4 | 8 | 50 | 100 | k8s-worker |
| node3 | 10.101.32.16 | 4 | 8 | 50 | 100 | k8s-worker |
| node4 | 10.101.32.17 | 4 | 8 | 50 | 100 | k8s-worker |
环境涉及软件版本信息
-
操作系统:CentOS 7.9.2009 (Core) 3.10.0-1160.15.2.el7.x86_64
-
KubeSphere:3.3.0
-
ByConity: 0.1.0-GA
-
Kubernetes:v1.23.7
-
Docker:20.10.8
-
JuiceFS:v1.0.4
-
KubeKey: v2.2.1
环境准备
1. K8s 环境
我这里主要推荐 kubesphere 来部署 k8s 环境。为啥呢?
安装简单,得益于简单三步就可以部署一个高可用的 k8s 环境。
- 下载 KubeKey
|
|
- 创建并配置集群文件
|
|
编辑 config.yaml ,添加节点的 IP 、用户名、密码,并指定节点的角色

-
创建集群
1./kk create cluster -f config.yaml
以上步骤有问题可以参考 kubesphere 官方文档
还有一个原因就是,颜值高,有非常丰富的生态工具。
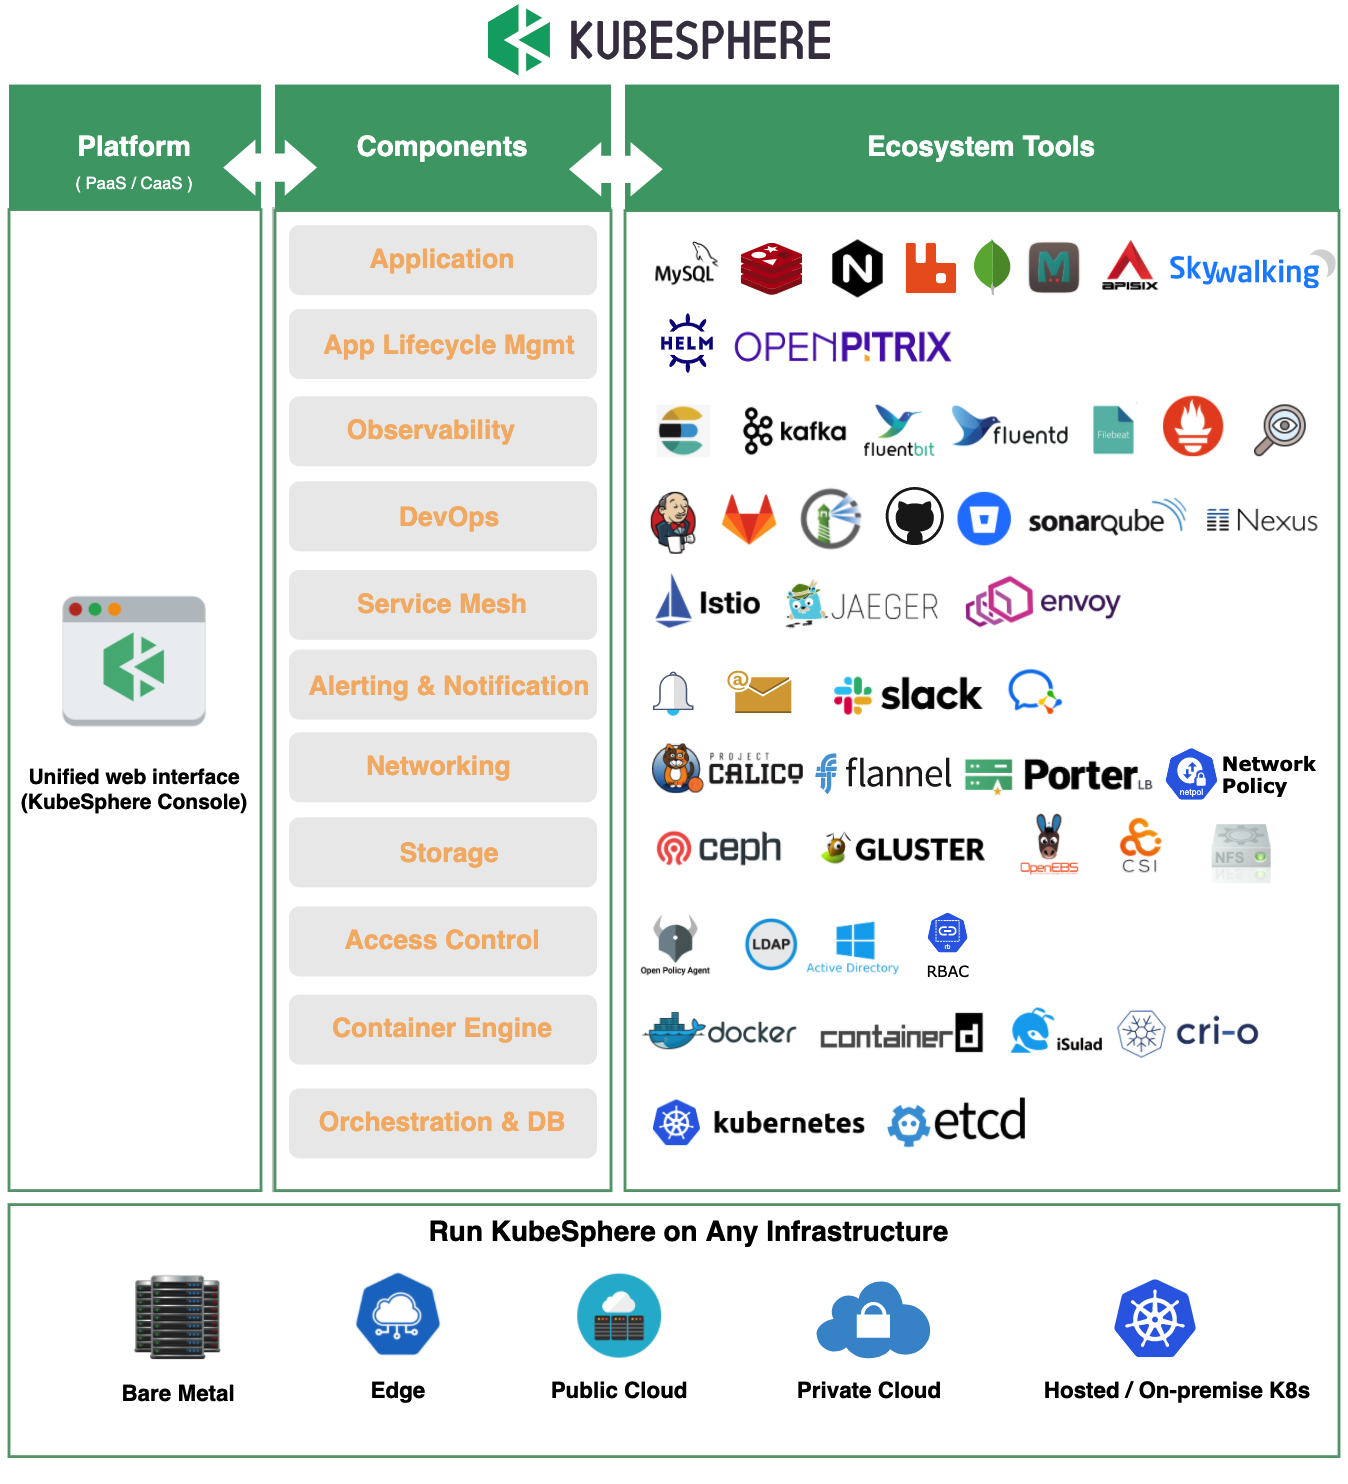
KubeSphere 围绕 Kubernetes 集成了多个云原生生态主流的开源软件,同时支持对接大部分流行的第三方组件,从应用和应用生命周期管理到集群底层的运行时,将这些开源项目作为其后端组件,通过标准的 API 与 KubeSphere 控制台交互,最终在一个统一的控制台界面提供一致的用户体验,以降低对不同工具的学习成本和复杂性。
这对于 ByConity 这样一个中间件服务来说,简直是巨大福音。可以灵活配置底层的存储组建(如:ceph,OpenEBS,JuiceFS),也可以方便配置上层监控运维可视化服务(如:Prometheus,Kafka,Superset,Tableau等)。
2、配置存储
kubesphere 的集群安装好之后,默认有一个 local 的 storageClass

需要 将 chart 包 中 value.yaml 中 所有 的 storageClassName 由 openebs-hostpath 替换成 local
当然 如果你没有 默认的 storageClass,可以自己部署存储 OpenEBS 或者 利用 KubeSphere 丰富的生态部署 JuiceFS 。
OpenEBS 部署步骤
-
安装命令,kubectl 或者 helm
1 2 3 4 5kubectl apply -f https://openebs.github.io/charts/openebs-operator.yaml helm repo add openebs https://openebs.github.io/charts helm repo update helm install --namespace openebs --name openebs openebs/openebs -
创建 StorageClass
1 2 3 4 5 6 7 8 9 10 11 12 13 14apiVersion: storage.k8s.io/v1 kind: StorageClass metadata: name: local-hostpath annotations: openebs.io/cas-type: local cas.openebs.io/config: | - name: StorageType value: hostpath - name: BasePath value: /var/local-hostpath provisioner: openebs.io/local reclaimPolicy: Delete volumeBindingMode: WaitForFirstConsumer -
安装验证
1
2
3
kubectl get pods -n openebs -l openebs.io/component-name=openebs-localpv-provisioner kubectl get sc
详细步骤,请参考 OpenEBS 官方文档
在 KubeSphere 上使用 JuiceFS
-
安装 JuiceFS CSI Driver
如果 KubeSphere 的版本为 v3.2.0 及以上,可以直接在应用商店中安装 CSI Driver。
-
使用
安装好的 JuiceFS CSI Driver 已经创建好一个
StorageClass,名为上述storageClass的name,比如上述创建的StorageClass为juicefs-sc,可以直接使用。
详细步骤,请参考在 KubeSphere 上使用 JuiceFS
环境部署
有了 k8s 集群,现在要做的是就是 利用 helm 来部署 ByConity 了。
因为上一个步骤中,部署 kubesphere 过程中,会自动给你安装一个 helm ,所以这一步就不用安装 helm 了,如果你是用 kind 或者其他方式部署的 k8s ,记得手动安装 helm
第零步 下载 chart 包
|
|
第一步 部署 fdb-operator
|
|
byconity-fdb-operator running 后开启第二步操作

第二步 部署服务
|
|
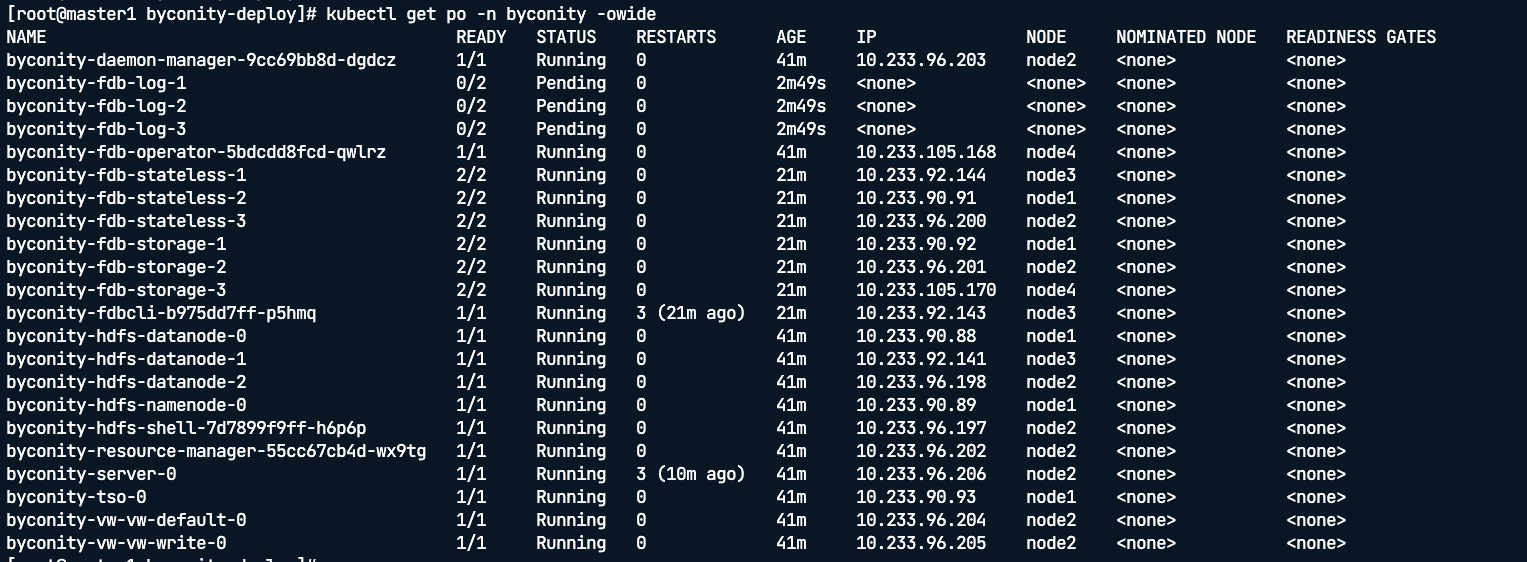
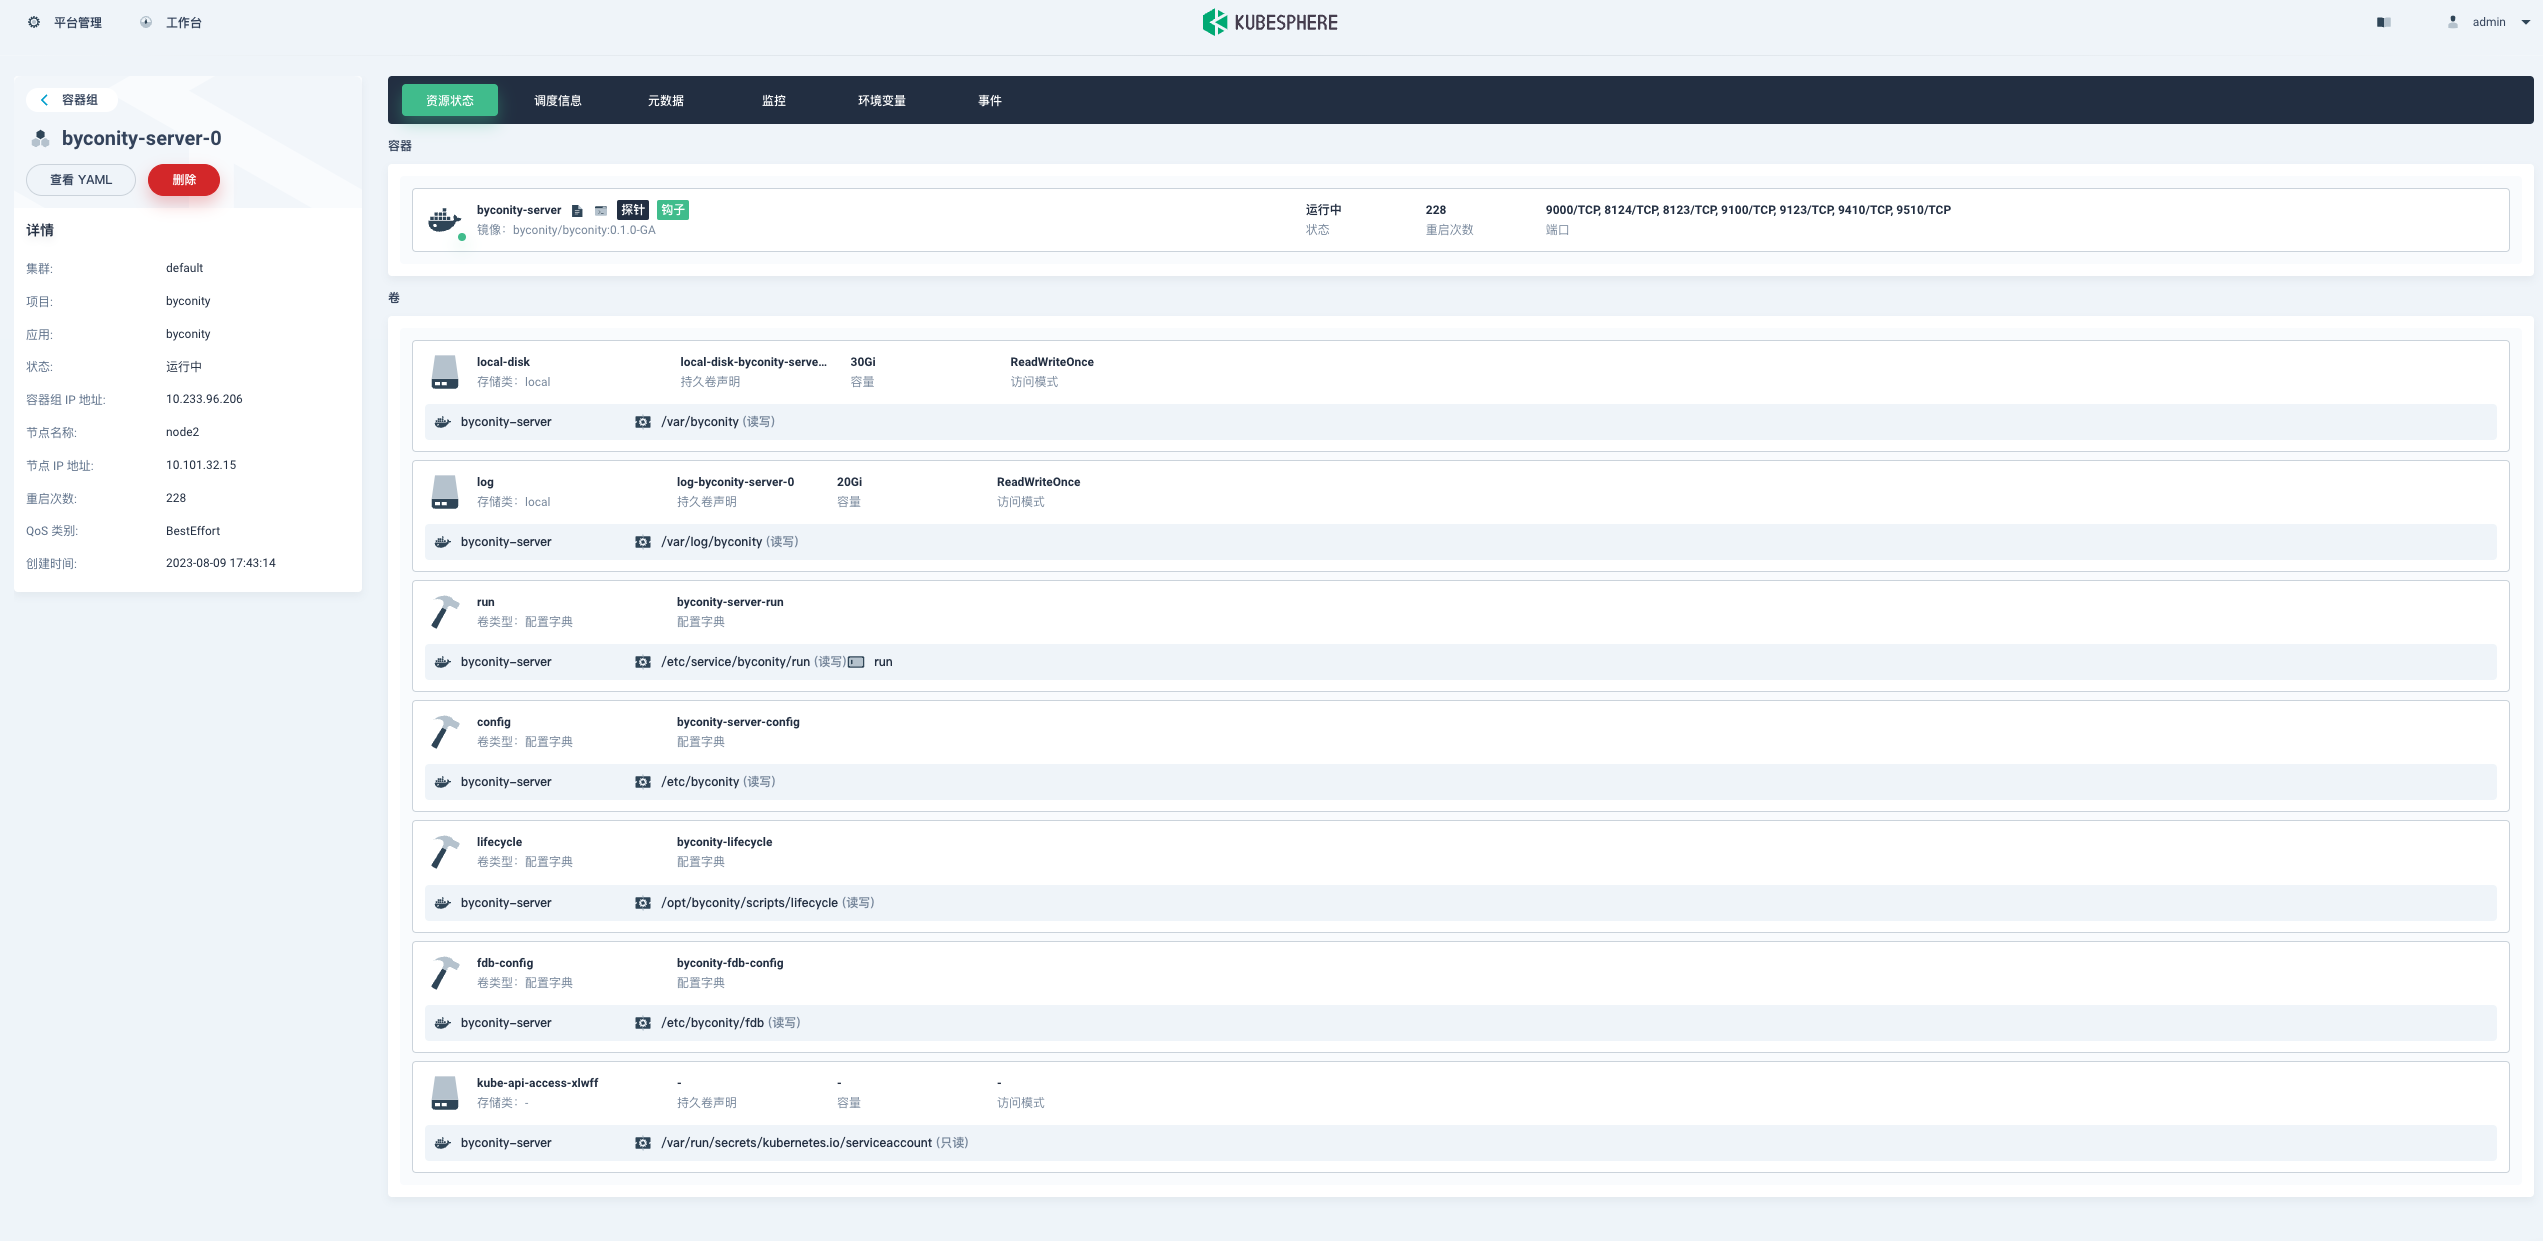
看到 pod 都 running 起来,说明就部署成功了,我们进去 byconity-server 里面试试功能。

在 KubeSphere 管理控制台验证
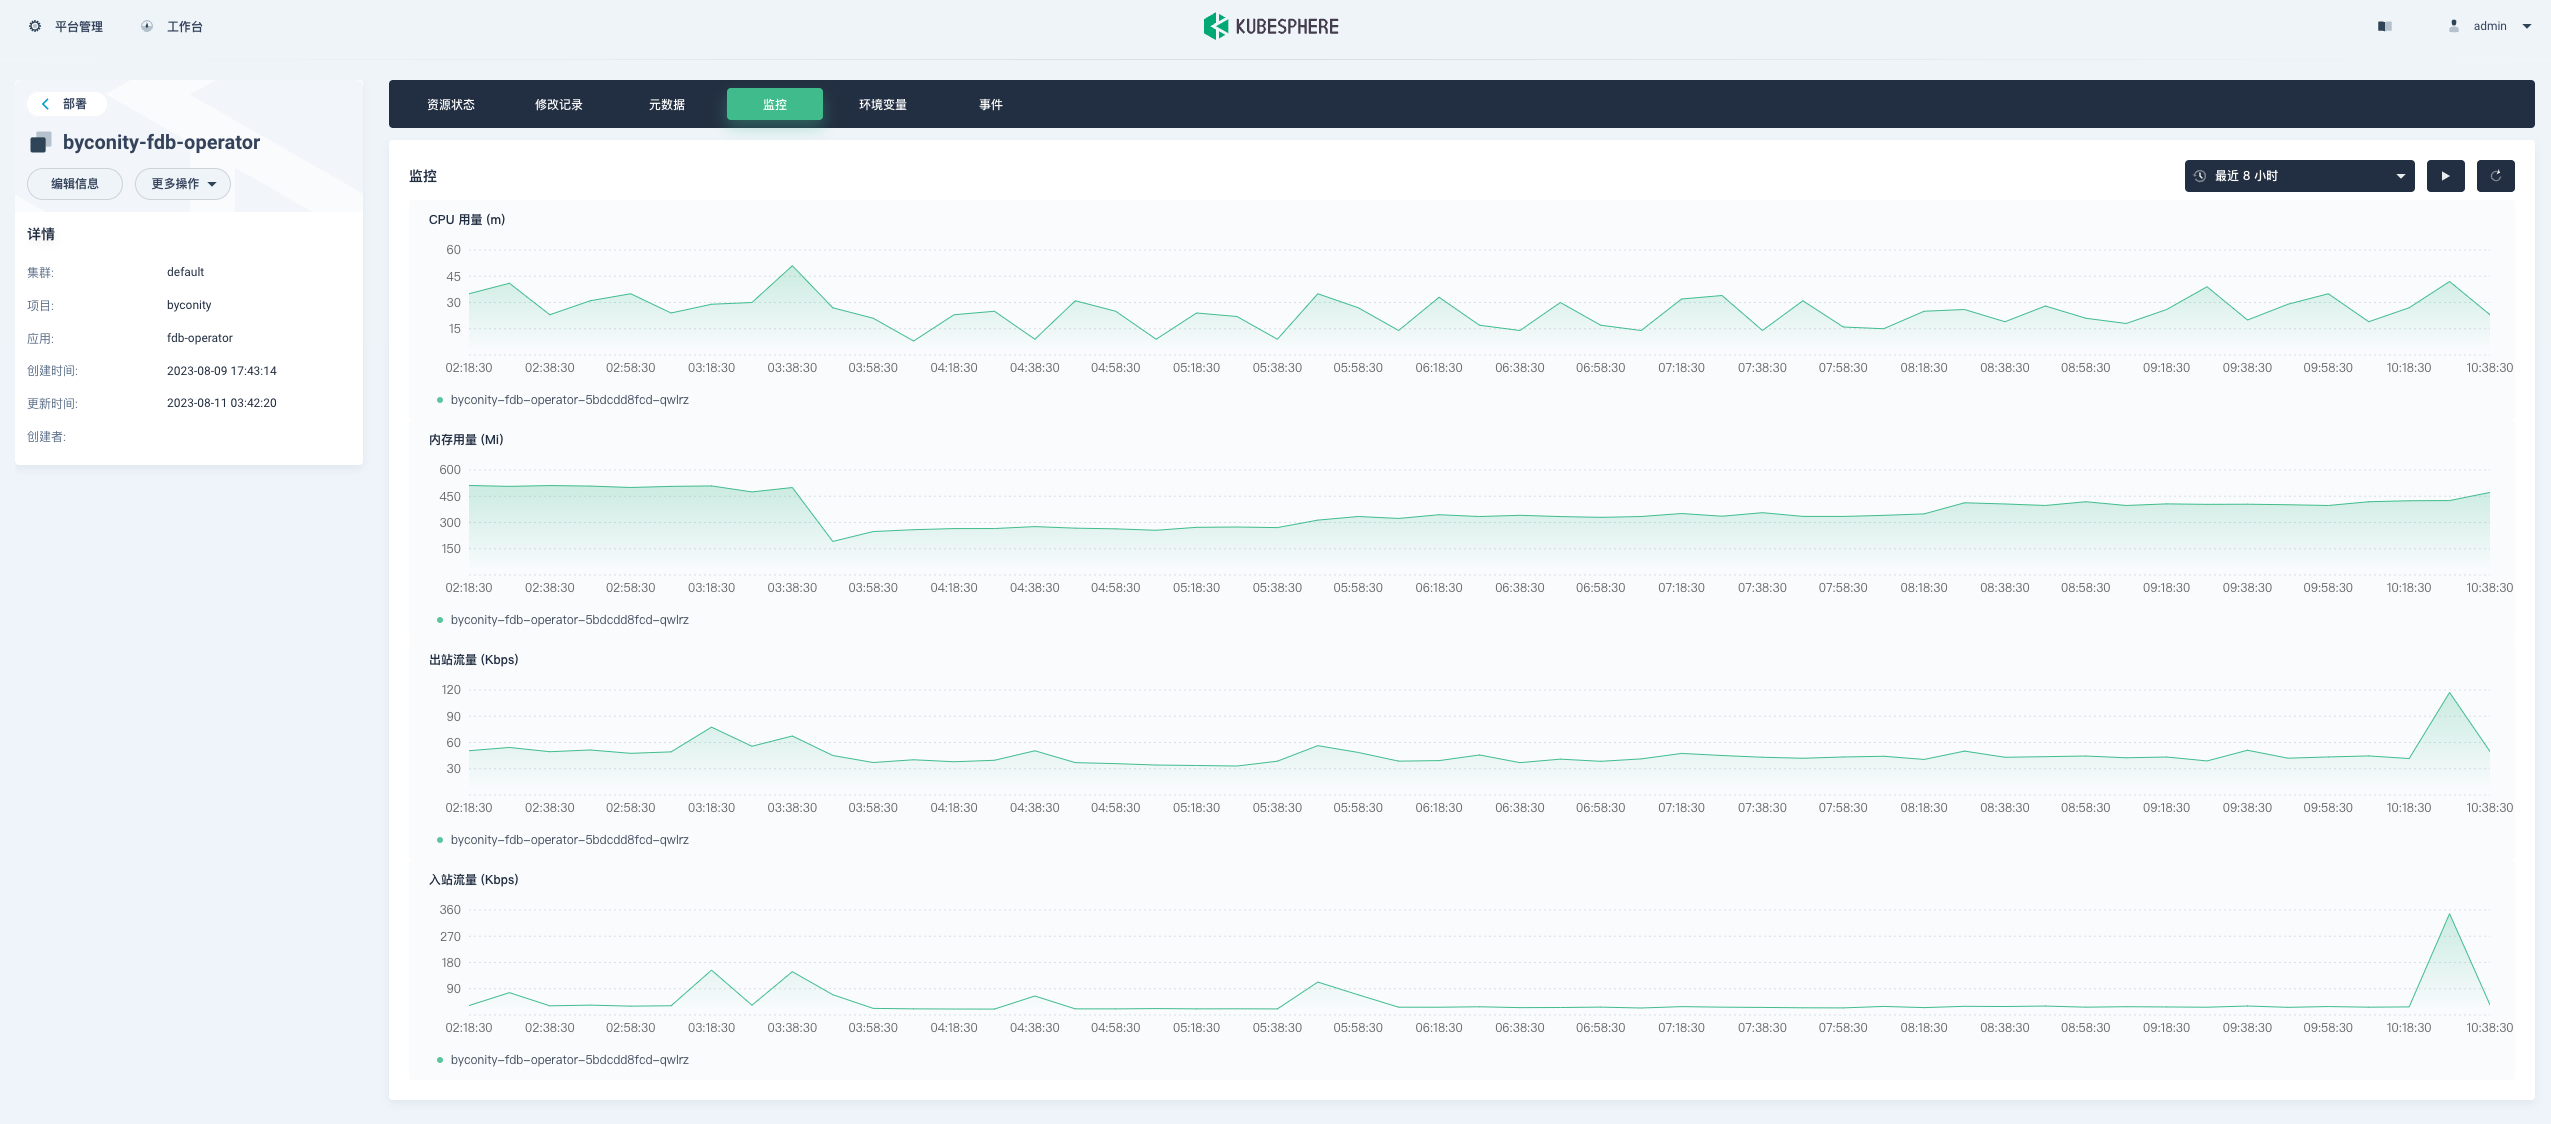
截几张图看一看 ByConity 相关资源在 KubeSphere 管理控制台中展示效果。
- Deployment (byconity-fdb-operator)


- StatefulSet (byconity-hdfs-datanode)
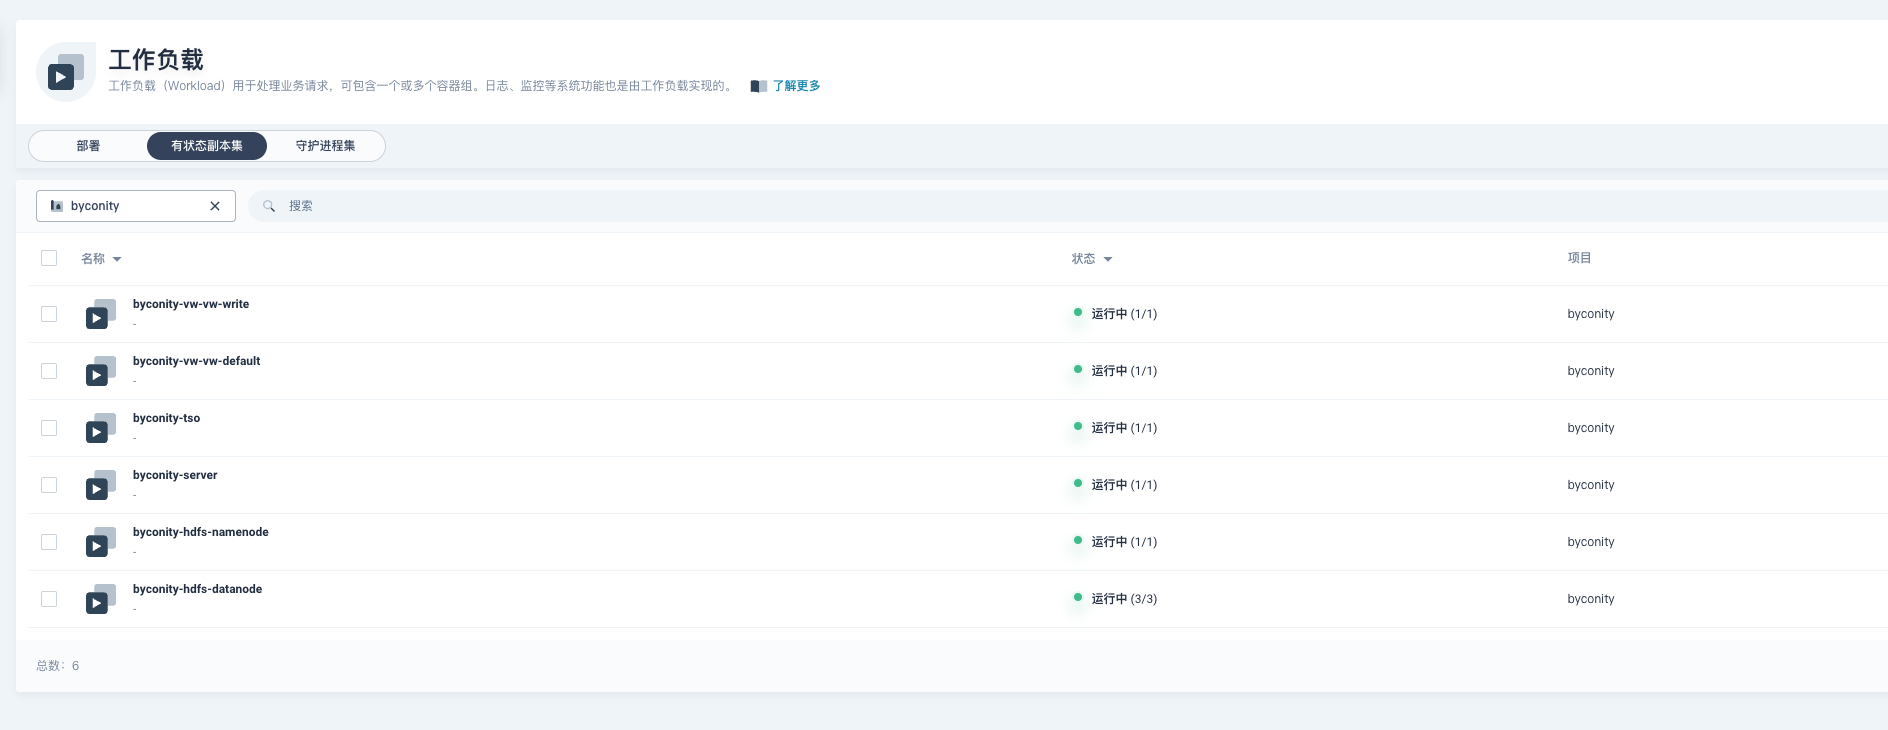
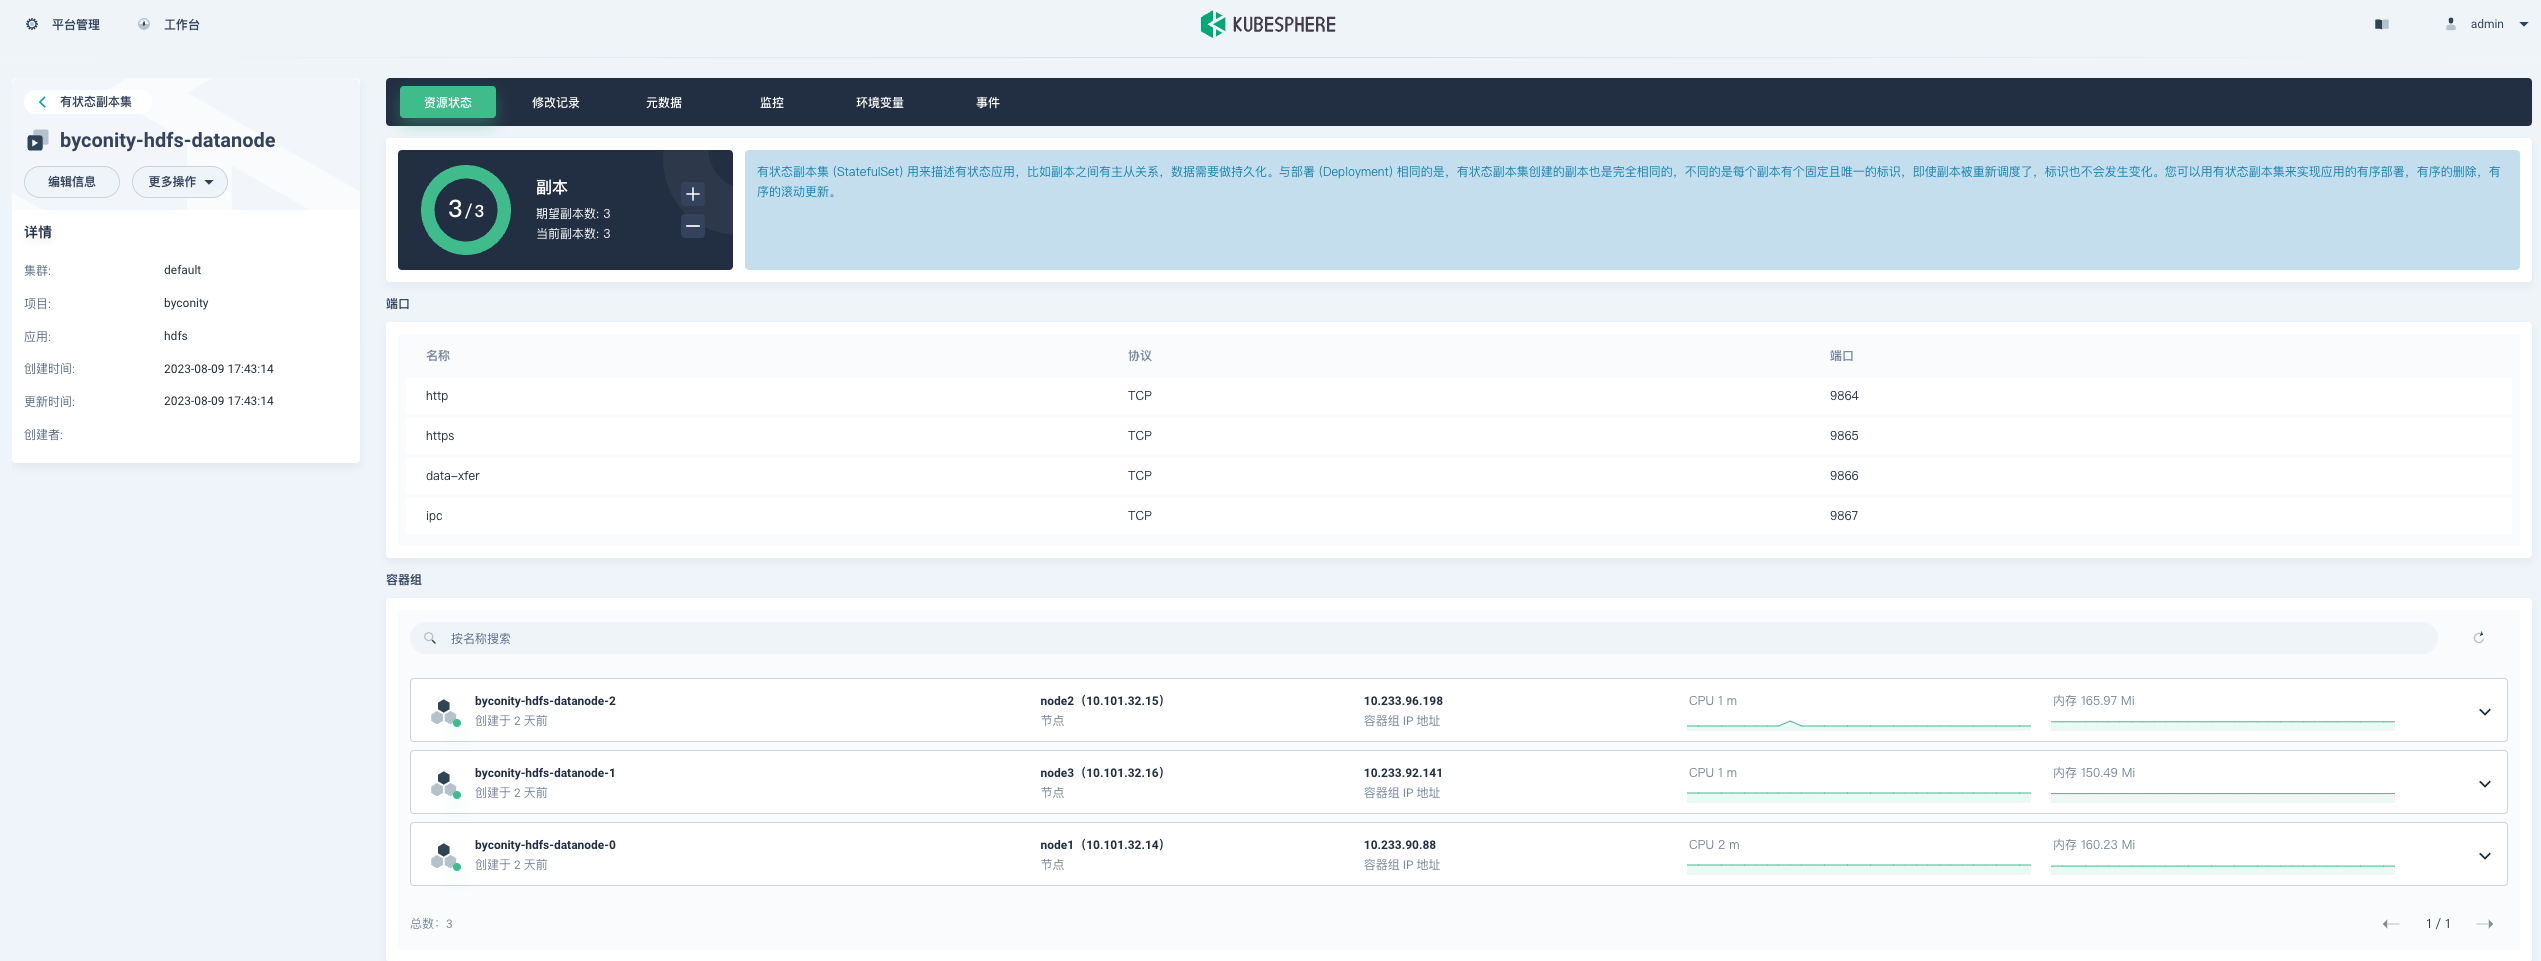
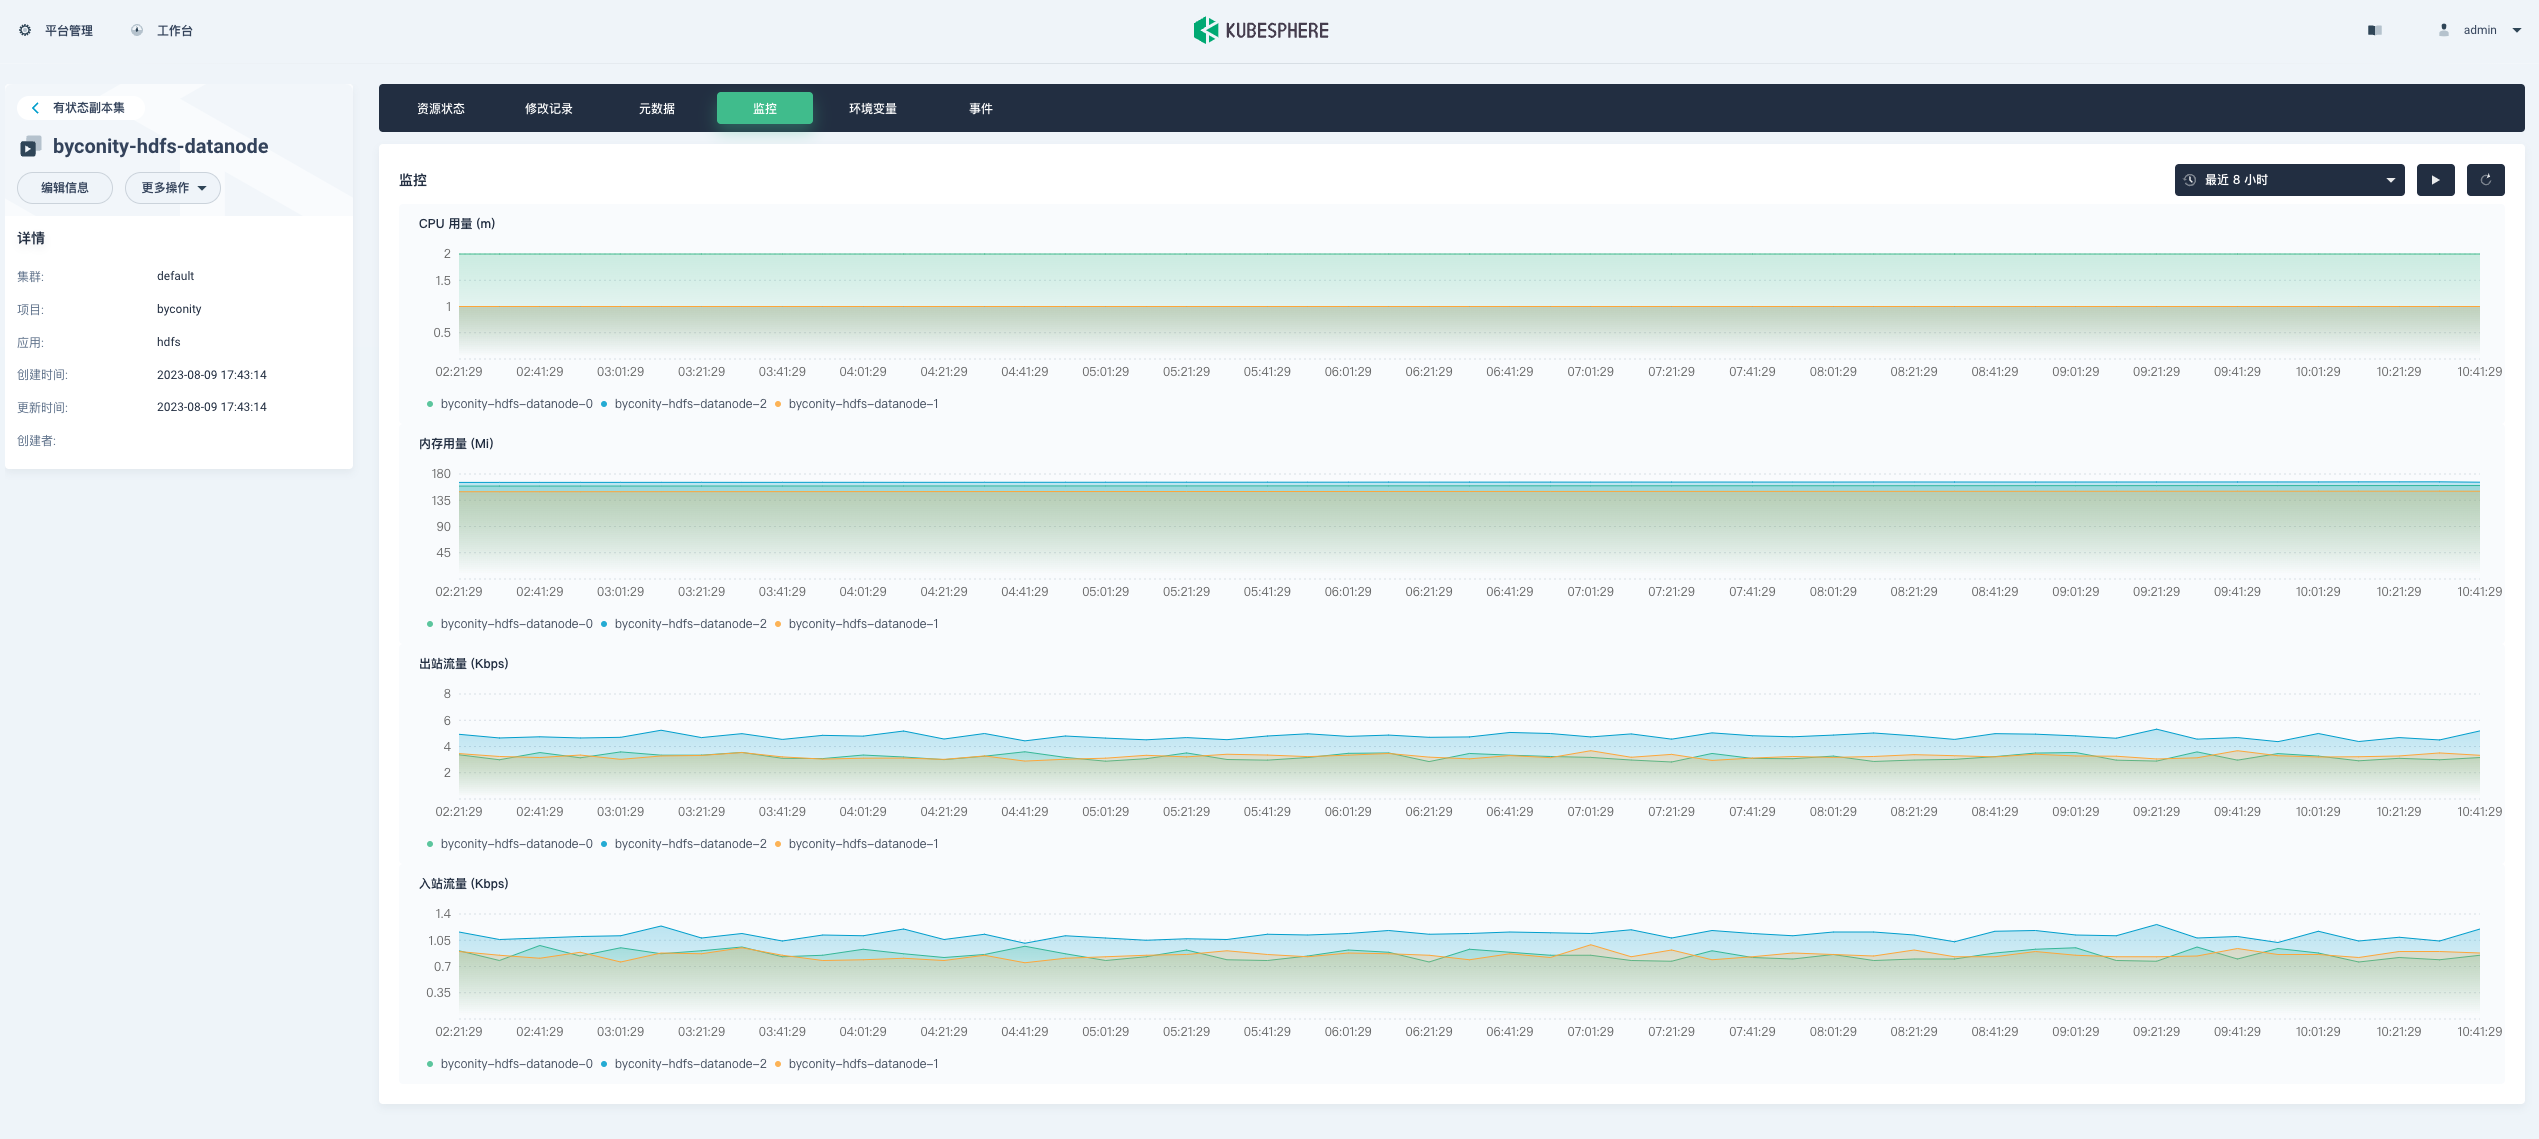
- Pods (byconity-server-0)
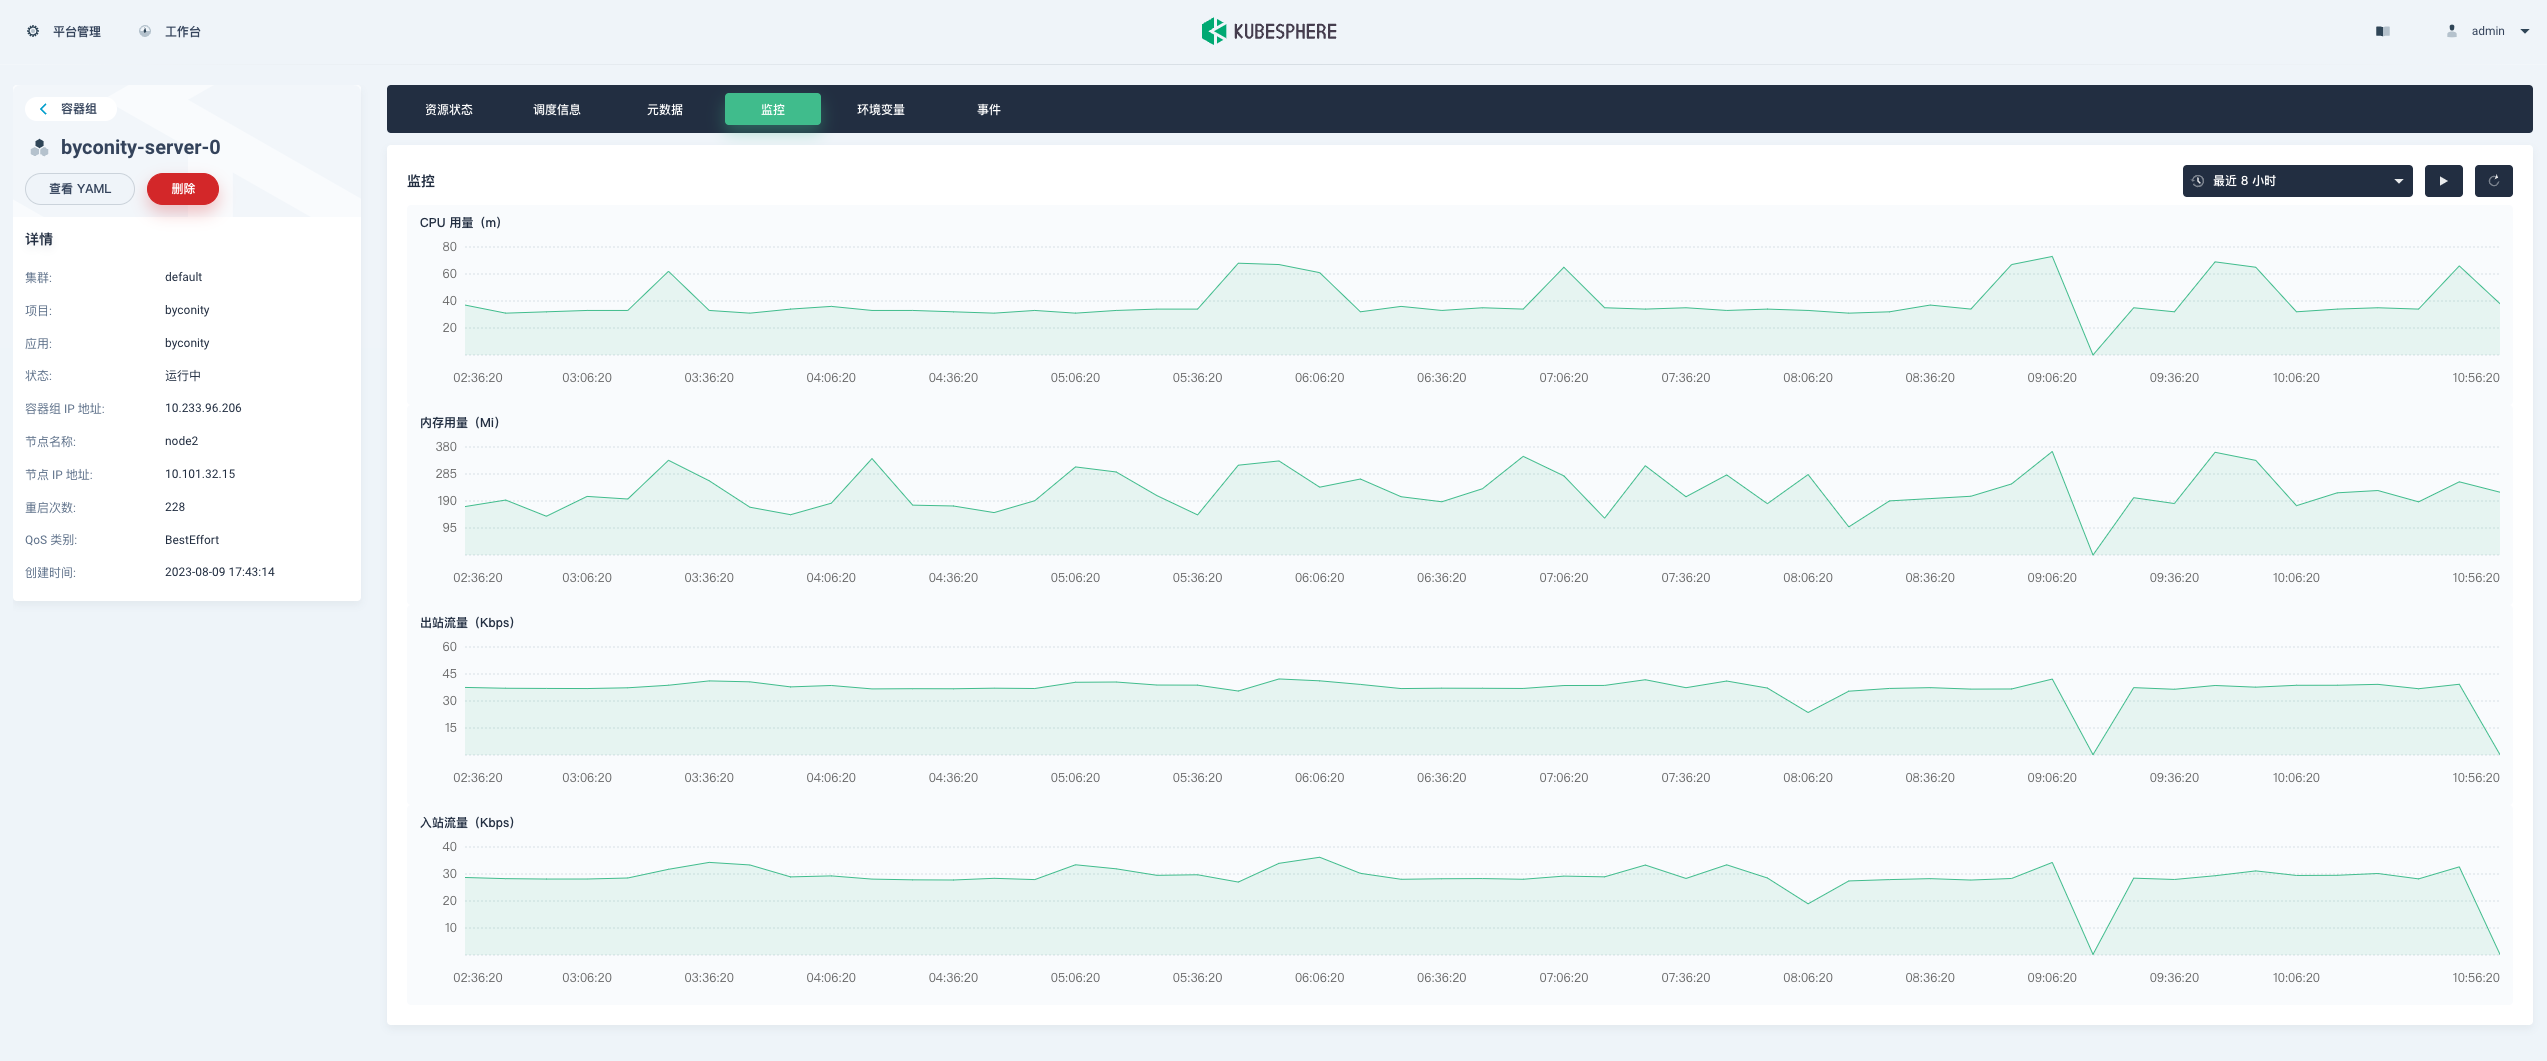
-
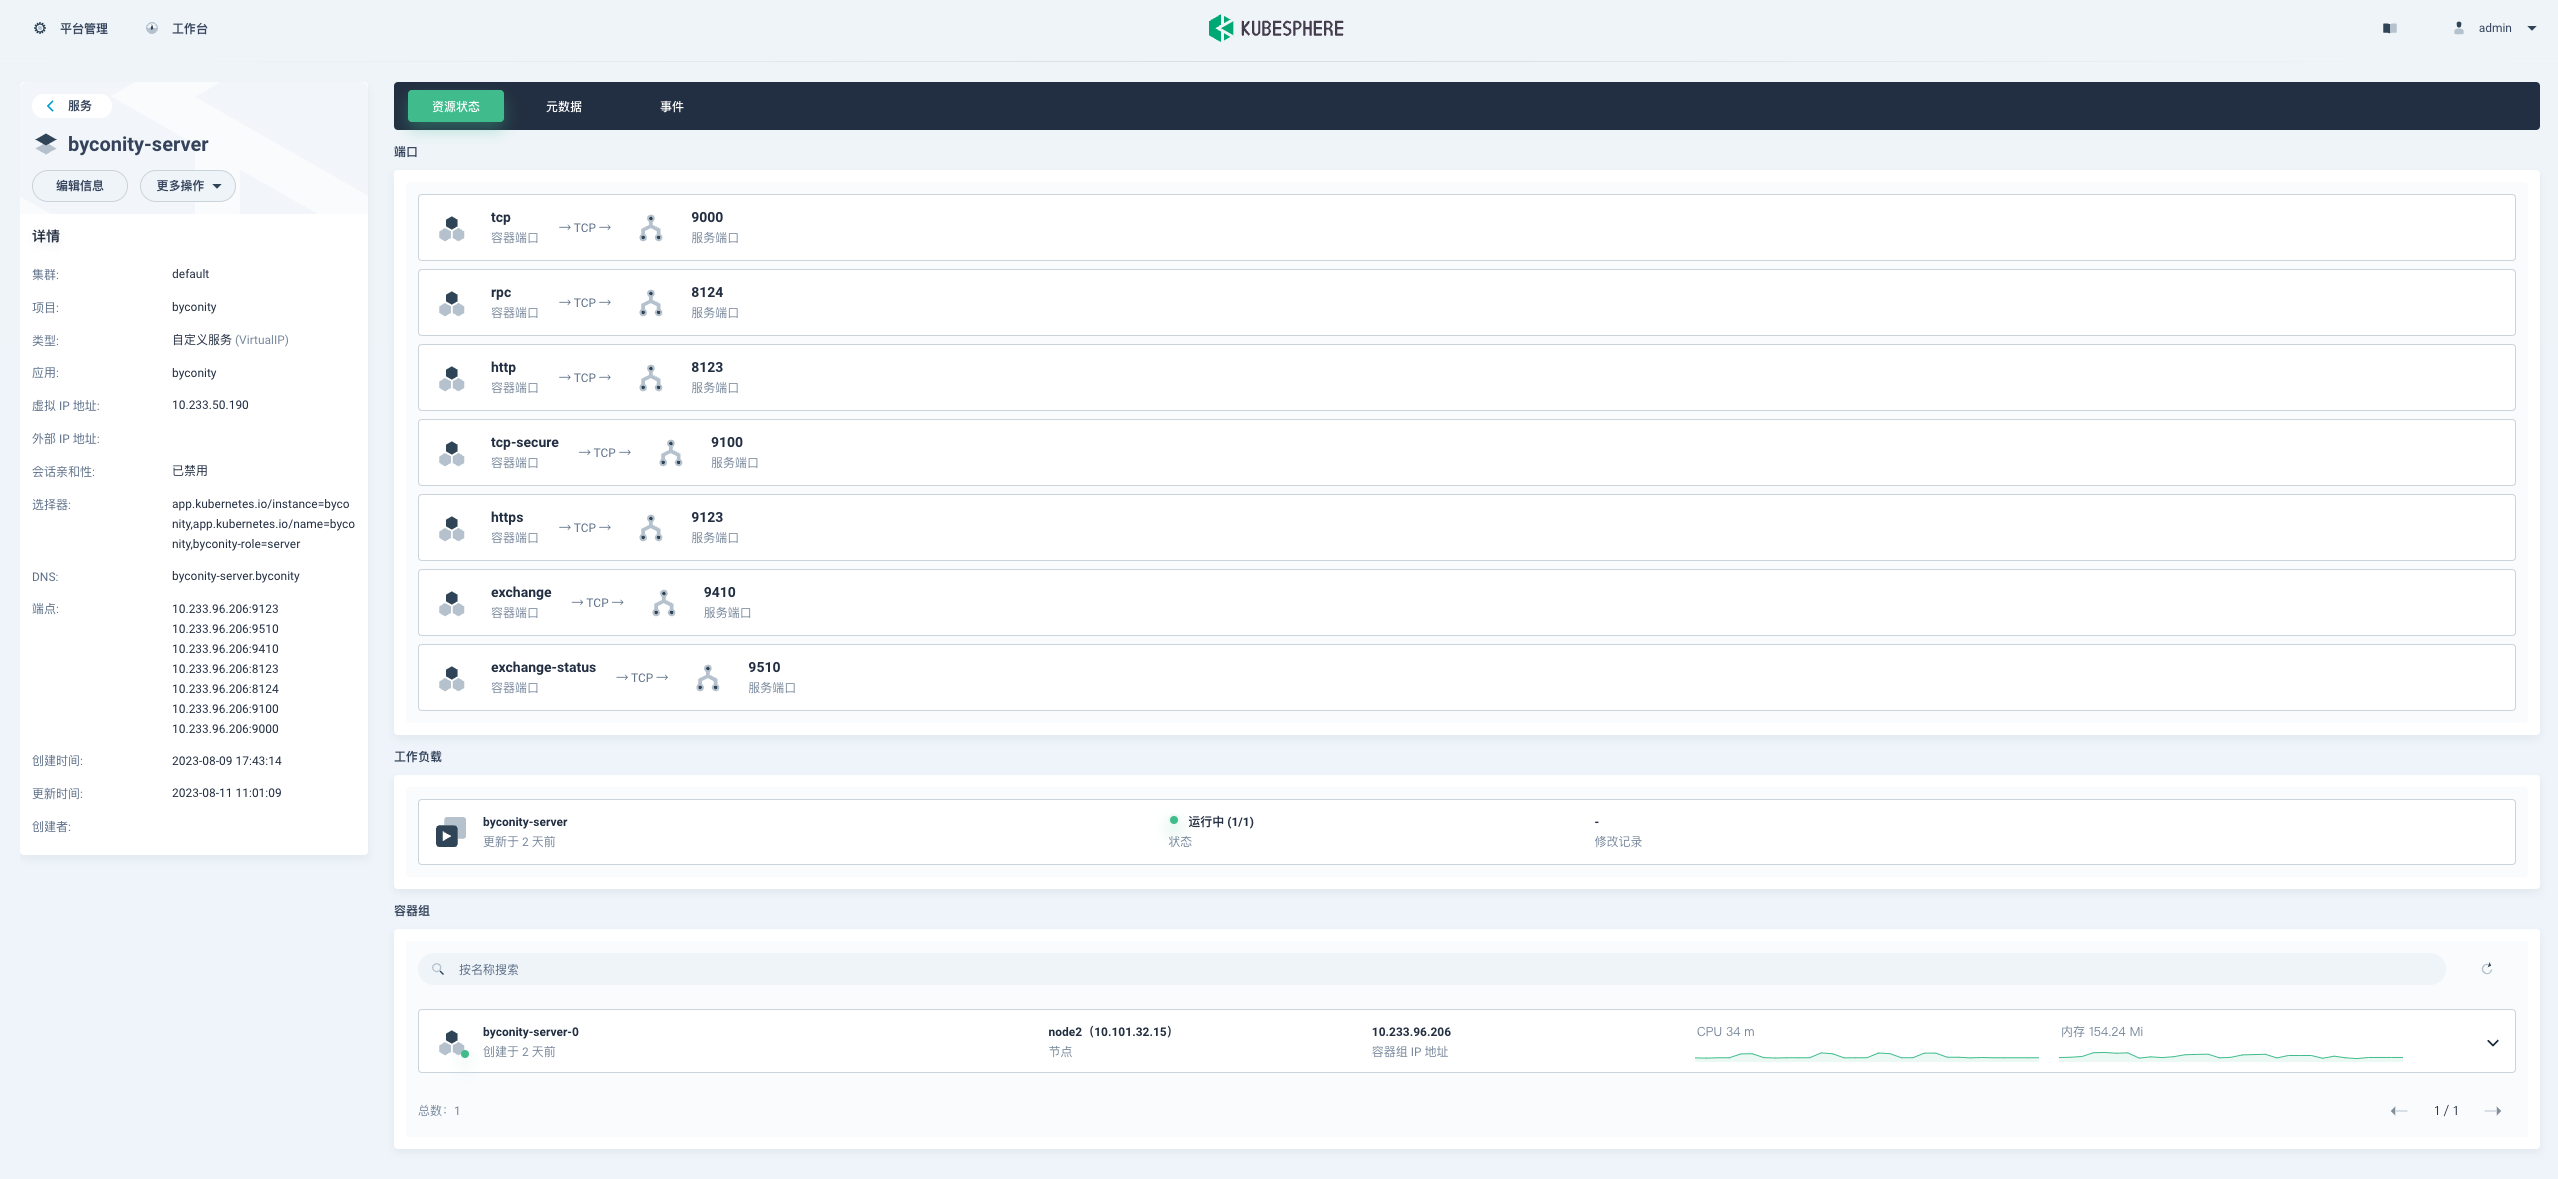
Service (byconity-server)

总结
布署工具的使用感受&评价
整个过程整体还是比较顺利的,有几个地方需要注意下
-
手动拉取镜像
fdb-operator pod 要 running 的话,依赖 4 个镜像,所以一直没有起来,需要到其对应节点,手动拉取。
|
|
-
手动清理 PVC
在 配置存储 步骤中,如果你 忘记 一两个 替换 storageClass ,需要你卸载 ByConity
1helm uninstall --namespace byconity byconity同时要清理 错误的 PVC
1kubectl delete pvc {pvcname} -n byconity
发现的问题
部署过程中,发现 byconity-server-0 健康检查一直失败。根据日志 发现是 ipv6 的支持问题,将 :: 改成 0.0.0.0 就可以了。
issue地址 :https://github.com/ByConity/ByConity/issues/593
